跳过正文
  1. Posts/

bitwarden使用docker自建服务器教程

· loading · loading ·
教程 bitwarden 密码
Ohdmire
作者
Ohdmire
Think much.
目录

bitwarden
#

介绍
#

Bitwarden是一款自由且开源的密码管理服务,用户可在加密的保管库中存储敏感信息。Bitwarden平台提供有多种客户端应用程序,包括网页用户界面、桌面应用,浏览器扩展、移动应用以及命令行界面。Bitwarden提供云端托管服务,并支持自行部署解决方案。

bitwarden的优势在于跨平台,和自建云托管服务器,相比起Chrome或Firefox的密码保存来说,提供了更为可靠的安全性

准备
#

  • 域名一个
  • vps(最好是Linux)
  • ssl证书
  • Onedrive账号(可选)

搭建服务
#

域名解析与ssl证书
#

这个比较基础所以我放在一起了。

域名解析
#

首先你要从域名提供商购买域名(免费域名有eu.org但是申请时间很长),如果你有github学生包的话,你可以免费获取一年的.me域名

然后选择一个域名解析的服务商(比如cloudflare),在域名提供商的设置页面将域名解析的地址指向域名解析的服务商

最后你访问域名就能跳到ip地址了

如果这部分内容还是不理解的话,请自行百度

ssl证书
#

推荐使用acme.sh获取证书

acme.sh的wiki

wiki上也详细讲述了安装教程我就不再多说

推荐使用这条命令来获取域名。其中mydomain.com 换成已经完成解析的域名

acme.sh --issue -d mydomain.com --standalone

提示:如果未能完成验证请检查防火墙状态并释放80端口

通过docker安装bitwarden
#

首先你需要安装docker,详细的教程我也不再多说

docker的安装教程

以Ubuntu为例

sudo apt get install docker

bitwarden镜像的选择
#

bitwarden拥有官方镜像和第三方镜像(vaultwarden)两种,第三方镜像的优势在于占用比较小,而且支持premium功能。我使用的是第三方镜像

vaultwarden

docker pull vaultwarden/server:latest
docker run -d --name vaultwarden -v /vw-data/:/data/ --restart unless-stopped -p 80:80 vaultwarden/server:latest

可以看到:的前后代表的分别是对容器外的和对容器内的,/vw-data/ 是你相关账户数据的储存路径,只要这个文件没丢,你的账户和密码都在。第一个80是对外的端口(意思就是你能通过访问ip:端口直接访问到的),第二个80端口是对容器内的(一般不能更改,容器预先设定好的)。

个人推荐是如果你有一些web服务,我推荐你不要占用80端口,可以改成其他端口

输入完成后其实就已经部署完毕了,你可以试试访问ip:端口,就可以进入页面了

为bitwarden添加ssl证书
#

bitwarden必须使用https才能够使用,使用我们要为我们的服务加上ssl证书

刚刚已经申请过的证书我们可以使用命令导出

acme.sh --install-cert -d example.com \
--cert-file      /path/to/certfile/in/apache/cert.pem  \
--key-file       /path/to/keyfile/in/apache/key.pem  \

其中example.com是你刚刚申请的域名

/path/to/certfile/in/apache/cert.pem是你的证书文件

/path/to/keyfile/in/apache/key.pem是你的密钥

输入后会在该路径生成你的证书与密钥

使用Caddy反代来实现https
#

安装caddy的过程请跟文档走

Caddy

以Ubuntu为例

sudo apt install -y debian-keyring debian-archive-keyring apt-transport-https
curl -1sLf 'https://dl.cloudsmith.io/public/caddy/stable/gpg.key' | sudo gpg --dearmor -o /usr/share/keyrings/caddy-stable-archive-keyring.gpg
curl -1sLf 'https://dl.cloudsmith.io/public/caddy/stable/debian.deb.txt' | sudo tee /etc/apt/sources.list.d/caddy-stable.list
sudo apt update
sudo apt install caddy

安装完成后请新建立一个Caddyfile文件 编辑为以下内容

{
http_port 8080
}

example.com {
	tls cert.pem key.pem
	reverse_proxy 127.0.0.1:80
}

其中example.com是你的域名

cert.pemkey.pem是你的证书和密钥文件(请使用绝对路径)

127.0.0.1:80的80是刚刚容器对外的端口

然后在该目录下输入

caddy start

之后直接输入域名就能访问

bitwarden导入密码
#

在开始使用之前,相信你以前使用过其他密码管理器,bitwarden提供了多种密码导入

访问你部署的bitwarden网页,选择工具-导入数据

bitwarden的官方文档中写明了支持的密码格式

  • 1Password (1pif)

  • 1Password 6 & 7 Windows (.sv)

  • 1Password 6 & 7 Mac (csv)

  • 1Password (1pux)

  • Ascendo DataVault (csv)

  • Avast Passwords (csv)

  • Avast Passwords (json)

  • Avira (json)

  • BlackBerry Password Keeper (csv)

  • Blur (csv)

  • Brave (csv)

  • Buttercup (csv)

  • Chrome (csv)

  • Clipperz (html)

  • Codebook (csv)

  • Dashlane (json)

  • Dashlane (csv)

  • Encryptr (csv)

  • Enpass (csv)

  • Enpass (json)

  • Firefox (csv)

  • F-Secure KEY (fsk)

  • GNOME Passwords and Keys/Seahorse (json)

  • Kaspersky Password Manager (txt)

  • KeePass 2 (xml)

  • KeePassX (csv)

  • Keeper (csv)

  • LastPass (csv)

  • LogMeOnce (csv)

  • Meldium (csv)

  • mSecure (csv)

  • Myki (csv)

  • Microsoft Edge (Chromium) (csv)

  • Nordpass (csv)

  • Opera (csv)

  • Padlock (csv)

  • Passbolt (csv)

  • PassKeep (csv)

  • Passky (json)

  • Passman (json)

  • Passpack (csv)

  • Password Agent (csv)

  • Password Boss (json)

  • Password Dragon (xml)

  • Password Safe (xml)

  • PasswordWallet (txt)

  • ProtonPass (json)

  • Psono (json)

  • RememBear (csv)

  • RoboForm (csv)

  • SafeInCloud (xml)

  • SaferPass (csv)

  • SecureSafe (csv)

  • SplashID (csv)

  • Sticky Password (xml)

  • True Key (csv)

  • Universal Password Manager (csv)

  • Vivaldi (csv)

  • Yoti (csv)

  • Zoho Vault (csv)

bitwarden的使用
#

在登陆页面中选择自托管,填入你的域名即可

Android端
#

通过Google play下载bitwarden的客户端

Windows端
#

https://bitwarden.com/download/

选择Windows客户端下载

Firefox or Chrome浏览器
#

下载扩展插件

Firefox: https://addons.mozilla.org/zh-CN/firefox/addon/bitwarden-password-manager/

Chrome: https://chrome.google.com/webstore/detail/bitwarden-free-password-m/nngceckbapebfimnlniiiahkandclblb

bitwarden的备份
#

由于密码是加密储存在云端的,要是哪天云服务器没了,虽然本地还可以导出,但我还是推荐定期备份

手动备份
#

访问你部署的bitwarden网页,选择工具-导出密码库-确认格式

可以选择json和csv两种格式

json格式支持加密

自动备份
#

通过项目vaultwarden-backup进行备份

vaultwarden-backup

docker-compose的方法适合没有使用过容器的用户,由于我们已经自行创建过了容器,所以我们采用自动备份。我的方案是备份到OneDrive

OneDrive
#

通过Azure获取必要信息
#

进入Azure的应用注册,点击新注册

Azure的应用注册

  1. 注册应用程序,名称填写BitwardenBackup 受支持的帐户类型选择最长的那个,重定向URI选web填http://localhost点击注册

  2. 注册好后复制客户端ID(待会要用到)

  3. 点击证书与密码-新客户端密码-填写说明,截止期限可以拉到最大,然后添加

  4. 添加完成后复制密码值

    到此,你已经获取了客户端ID密码值

配置rclone
#

输入以下指令

docker run --rm -it \
  --mount type=volume,source=vaultwarden-rclone-data,target=/config/ \
  ttionya/vaultwarden-backup:latest \
  rclone config

按照步骤配置

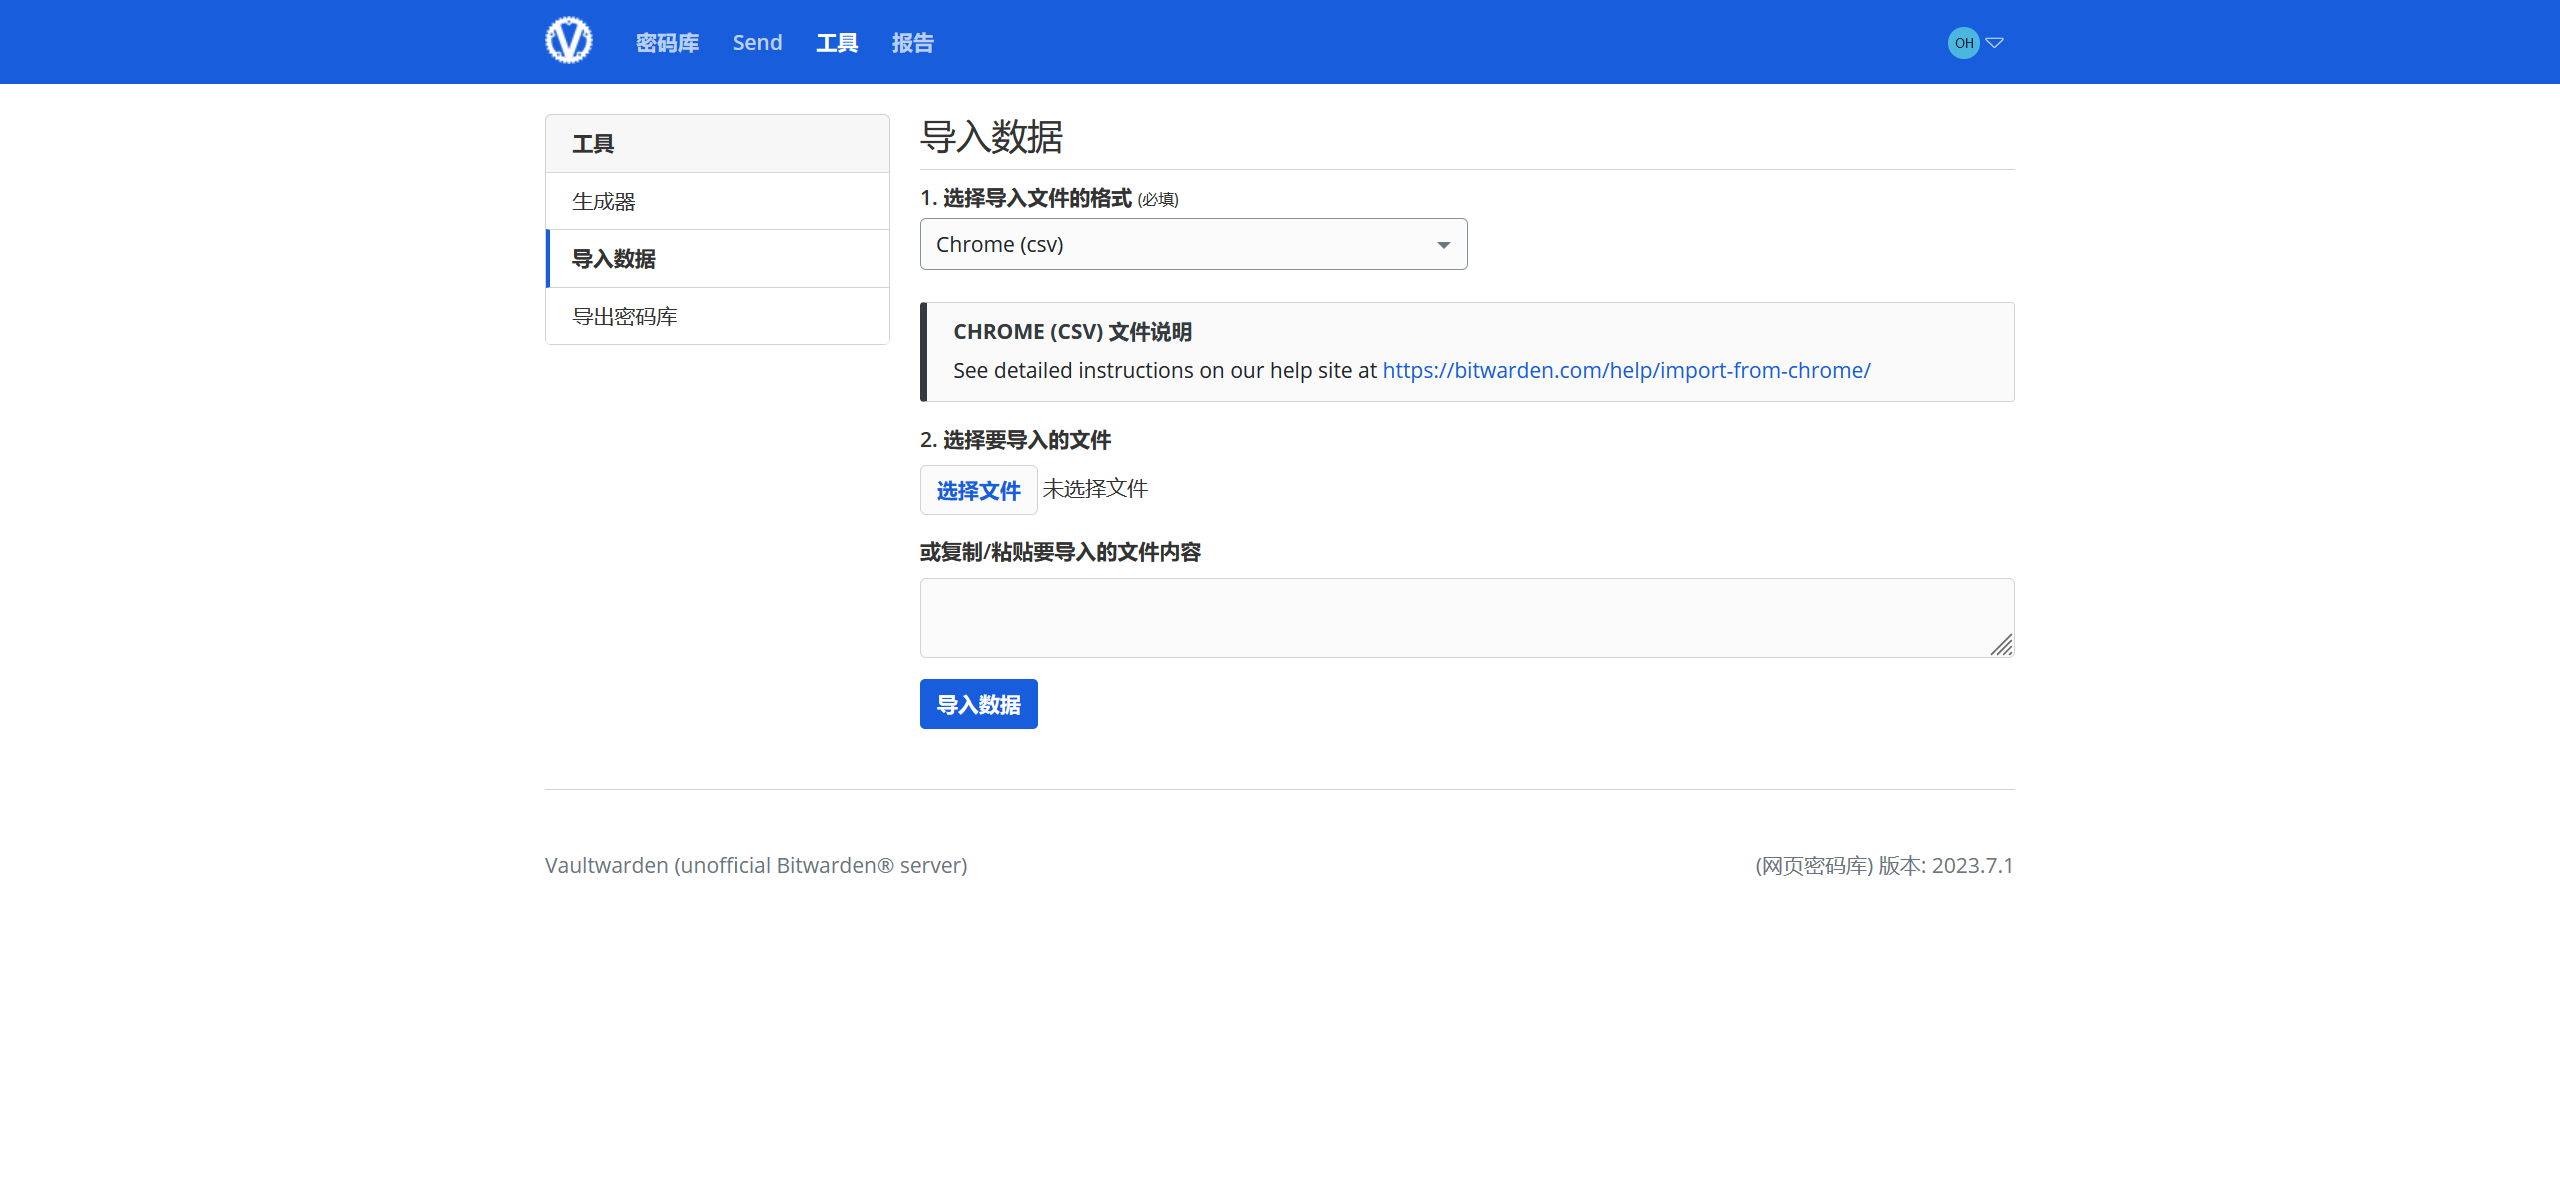
No remotes found, make a new one?
n) New remote
s) Set configuration password
q) Quit config
n/s/q> n #新建配置

Enter name for new remote.
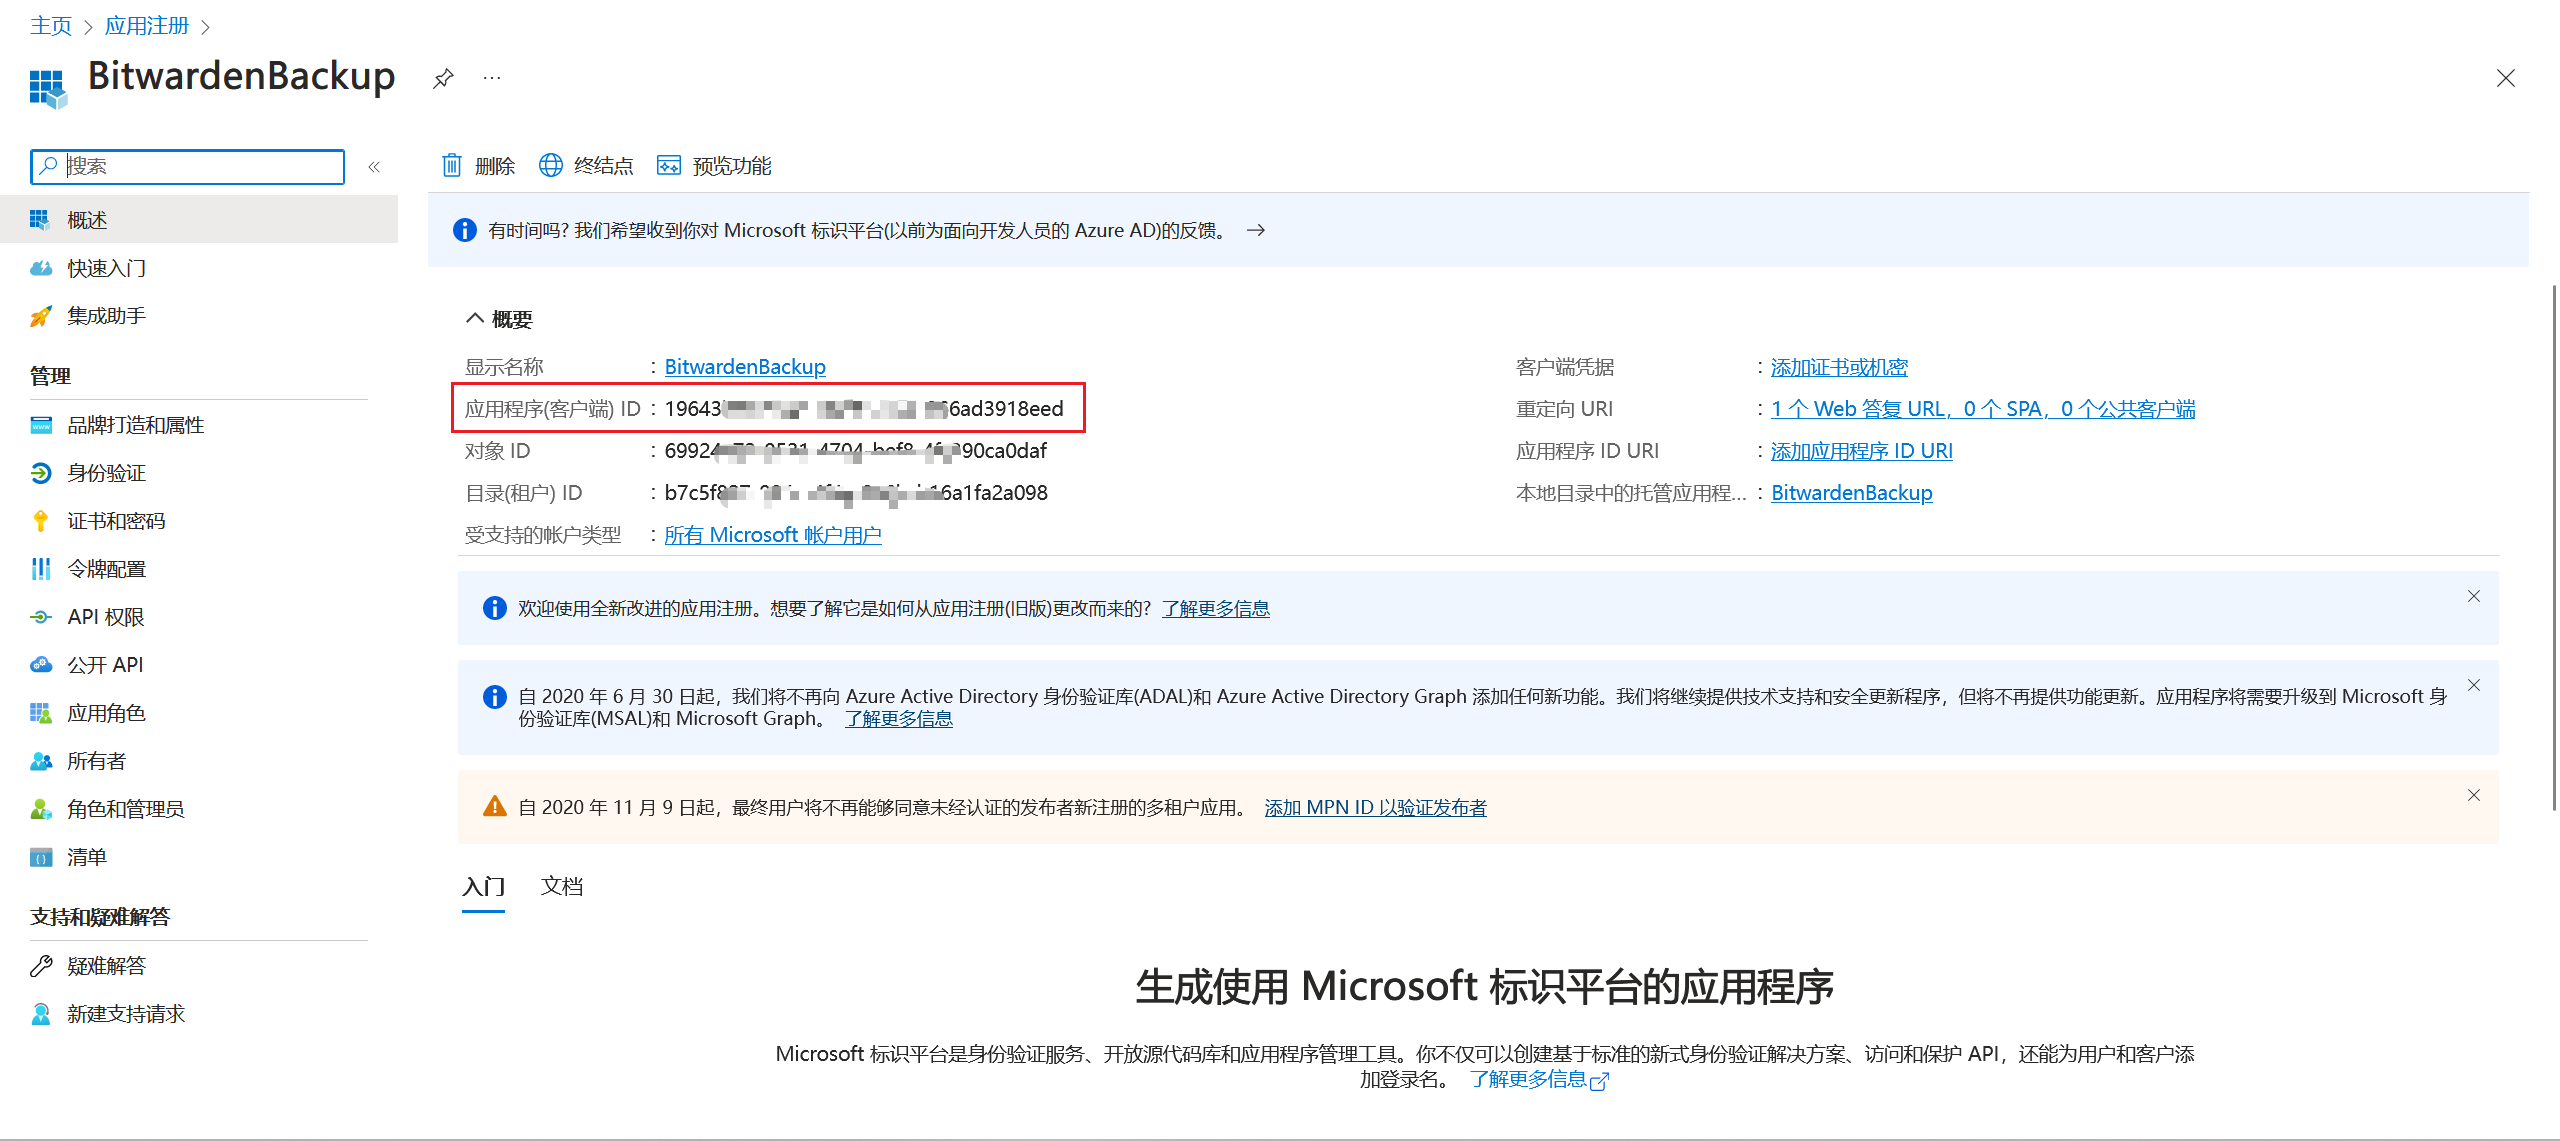
name> BitwardenBackup

Option Storage.
Type of storage to configure.
Choose a number from below, or type in your own value.
 1 / 1Fichier
   \ (fichier)
 2 / Akamai NetStorage
   \ (netstorage)
 3 / Alias for an existing remote
   \ (alias)
 4 / Amazon Drive
   \ (amazon cloud drive)
 5 / Amazon S3 Compliant Storage Providers including AWS, Alibaba, ArvanCloud, Ceph, China Mobile, Cloudflare, GCS, DigitalOcean, Dreamhost, Huawei OBS, IBM COS, IDrive e2, IONOS Cloud, Leviia, Liara, Lyve Cloud, Minio, Netease, Petabox, RackCorp, Scaleway, SeaweedFS, StackPath, Storj, Synology, Tencent COS, Qiniu and Wasabi
   \ (s3)
 6 / Backblaze B2
   \ (b2)
 7 / Better checksums for other remotes
   \ (hasher)
 8 / Box
   \ (box)
 9 / Cache a remote
   \ (cache)
10 / Citrix Sharefile
   \ (sharefile)
11 / Combine several remotes into one
   \ (combine)
12 / Compress a remote
   \ (compress)
13 / Dropbox
   \ (dropbox)
14 / Encrypt/Decrypt a remote
   \ (crypt)
15 / Enterprise File Fabric
   \ (filefabric)
16 / FTP
   \ (ftp)
17 / Google Cloud Storage (this is not Google Drive)
   \ (google cloud storage)
18 / Google Drive
   \ (drive)
19 / Google Photos
   \ (google photos)
20 / HTTP
   \ (http)
21 / Hadoop distributed file system
   \ (hdfs)
22 / HiDrive
   \ (hidrive)
23 / In memory object storage system.
   \ (memory)
24 / Internet Archive
   \ (internetarchive)
25 / Jottacloud
   \ (jottacloud)
26 / Koofr, Digi Storage and other Koofr-compatible storage providers
   \ (koofr)
27 / Local Disk
   \ (local)
28 / Mail.ru Cloud
   \ (mailru)
29 / Mega
   \ (mega)
30 / Microsoft Azure Blob Storage
   \ (azureblob)
31 / Microsoft OneDrive
   \ (onedrive)
32 / OpenDrive
   \ (opendrive)
33 / OpenStack Swift (Rackspace Cloud Files, Blomp Cloud Storage, Memset Memstore, OVH)
   \ (swift)
34 / Oracle Cloud Infrastructure Object Storage
   \ (oracleobjectstorage)
35 / Pcloud
   \ (pcloud)
36 / PikPak
   \ (pikpak)
37 / Proton Drive
   \ (protondrive)
38 / Put.io
   \ (putio)
39 / QingCloud Object Storage
   \ (qingstor)
40 / Quatrix by Maytech
   \ (quatrix)
41 / SMB / CIFS
   \ (smb)
42 / SSH/SFTP
   \ (sftp)
43 / Sia Decentralized Cloud
   \ (sia)
44 / Storj Decentralized Cloud Storage
   \ (storj)
45 / Sugarsync
   \ (sugarsync)
46 / Transparently chunk/split large files
   \ (chunker)
47 / Union merges the contents of several upstream fs
   \ (union)
48 / Uptobox
   \ (uptobox)
49 / WebDAV
   \ (webdav)
50 / Yandex Disk
   \ (yandex)
51 / Zoho
   \ (zoho)
52 / premiumize.me
   \ (premiumizeme)
53 / seafile
   \ (seafile)
Storage> 31 #选择OneDrive

Option client_id.
OAuth Client Id.
Leave blank normally.
Enter a value. Press Enter to leave empty.
client_id> #刚刚获取的客户端ID

Option client_secret.
OAuth Client Secret.
Leave blank normally.
Enter a value. Press Enter to leave empty.
client_secret> ##刚刚获取的密码值

Option region.
Choose national cloud region for OneDrive.
Choose a number from below, or type in your own string value.
Press Enter for the default (global).
 1 / Microsoft Cloud Global
   \ (global)
 2 / Microsoft Cloud for US Government
   \ (us)
 3 / Microsoft Cloud Germany
   \ (de)
 4 / Azure and Office 365 operated by Vnet Group in China
   \ (cn)
region> #默认回车即可

Edit advanced config?
y) Yes
n) No (default)
y/n> #默认回车即可

Use web browser to automatically authenticate rclone with remote?
 * Say Y if the machine running rclone has a web browser you can use
 * Say N if running rclone on a (remote) machine without web browser access
If not sure try Y. If Y failed, try N.

y) Yes (default)
n) No
y/n> n #选择n

Option config_token.
For this to work, you will need rclone available on a machine that has
a web browser available.
For more help and alternate methods see: https://rclone.org/remote_setup/
Execute the following on the machine with the web browser (same rclone
version recommended):
	rclone authorize "onedrive" "yourtoken" #复制这个命令去执行
Then paste the result.
Enter a value.
config_token> #填入一长串token
Option config_type.
Type of connection
Choose a number from below, or type in an existing string value.
Press Enter for the default (onedrive).
 1 / OneDrive Personal or Business
   \ (onedrive)
 2 / Root Sharepoint site
   \ (sharepoint)
   / Sharepoint site name or URL
 3 | E.g. mysite or https://contoso.sharepoint.com/sites/mysite
   \ (url)
 4 / Search for a Sharepoint site
   \ (search)
 5 / Type in driveID (advanced)
   \ (driveid)
 6 / Type in SiteID (advanced)
   \ (siteid)
   / Sharepoint server-relative path (advanced)
 7 | E.g. /teams/hr
   \ (path)
config_type> #默认回车即可

Option config_driveid.
Select drive you want to use
Choose a number from below, or type in your own string value.
Press Enter for the default (e3e0185b250b708d).
 1 /  (personal)
   \ (e3e0185b250b708d)
config_driveid> #默认回车即可

Drive OK?

Found drive "root" of type "personal"
URL: https://onedrive.live.com/?cid=e3e0185b250b708d

y) Yes (default)
n) No
y/n> #默认回车即可

Configuration complete.

Keep this "BitwardenBackup" remote?
y) Yes this is OK (default)
e) Edit this remote
d) Delete this remote
y/e/d> #默认回车即可

Current remotes:

Name                 Type
====                 ====
BitwardenBackup      onedrive

e) Edit existing remote
n) New remote
d) Delete remote
r) Rename remote
c) Copy remote
s) Set configuration password
q) Quit config
e/n/d/r/c/s/q> q #q退出

搭建在服务器的rclone token要在本地获取,请在电脑下载rclone后运行该指令或在手机上使用termux安装rclone然后运行该指令

termux
#

termux可以直接使用pkg安装

pkg install rclone

直接输入

rclone.exe authorize "onedrive" "yourtoken"
windows
#

windows下载二进制文件后按shift+右键在此处打开powershell输入

./rclone.exe authorize "onedrive" "yourtoken"

rclone.exe为你的程序名称

会自动打开浏览器,登录你的Microsoft账号后接受认证后回到你的终端页面,会有一个token给你,复制后填入服务器上的终端内

配置docker
#

输入命令即可

docker run -d \
  --restart=always \
  --name vaultwarden_backup \
  --volumes-from=vaultwarden \
  --mount type=volume,source=vaultwarden-rclone-data,target=/config/ \
  -e DATA_DIR="/data" \
  ttionya/vaultwarden-backup:latest

然后你就会在你的OneDrive里发现一个名叫BitwardenBackup的文件夹

相关文章

异地组网-ZeroTier简明教程
· loading · loading
教程 网络 ZeroTier 异地组网
Microsoft 365 E5开发者使用指南
· loading · loading
教程 E5 OneDrive Office365 微软
关于一些外服游戏下载节省流量
· loading · loading
教程 下载 Blue Archive Project Sekai Heaven Burns Red clash
Sony XM5 耳机使用感受
· loading · loading
评测 Sony 耳机
一键kill
· loading · loading
技巧 软件 taskkill